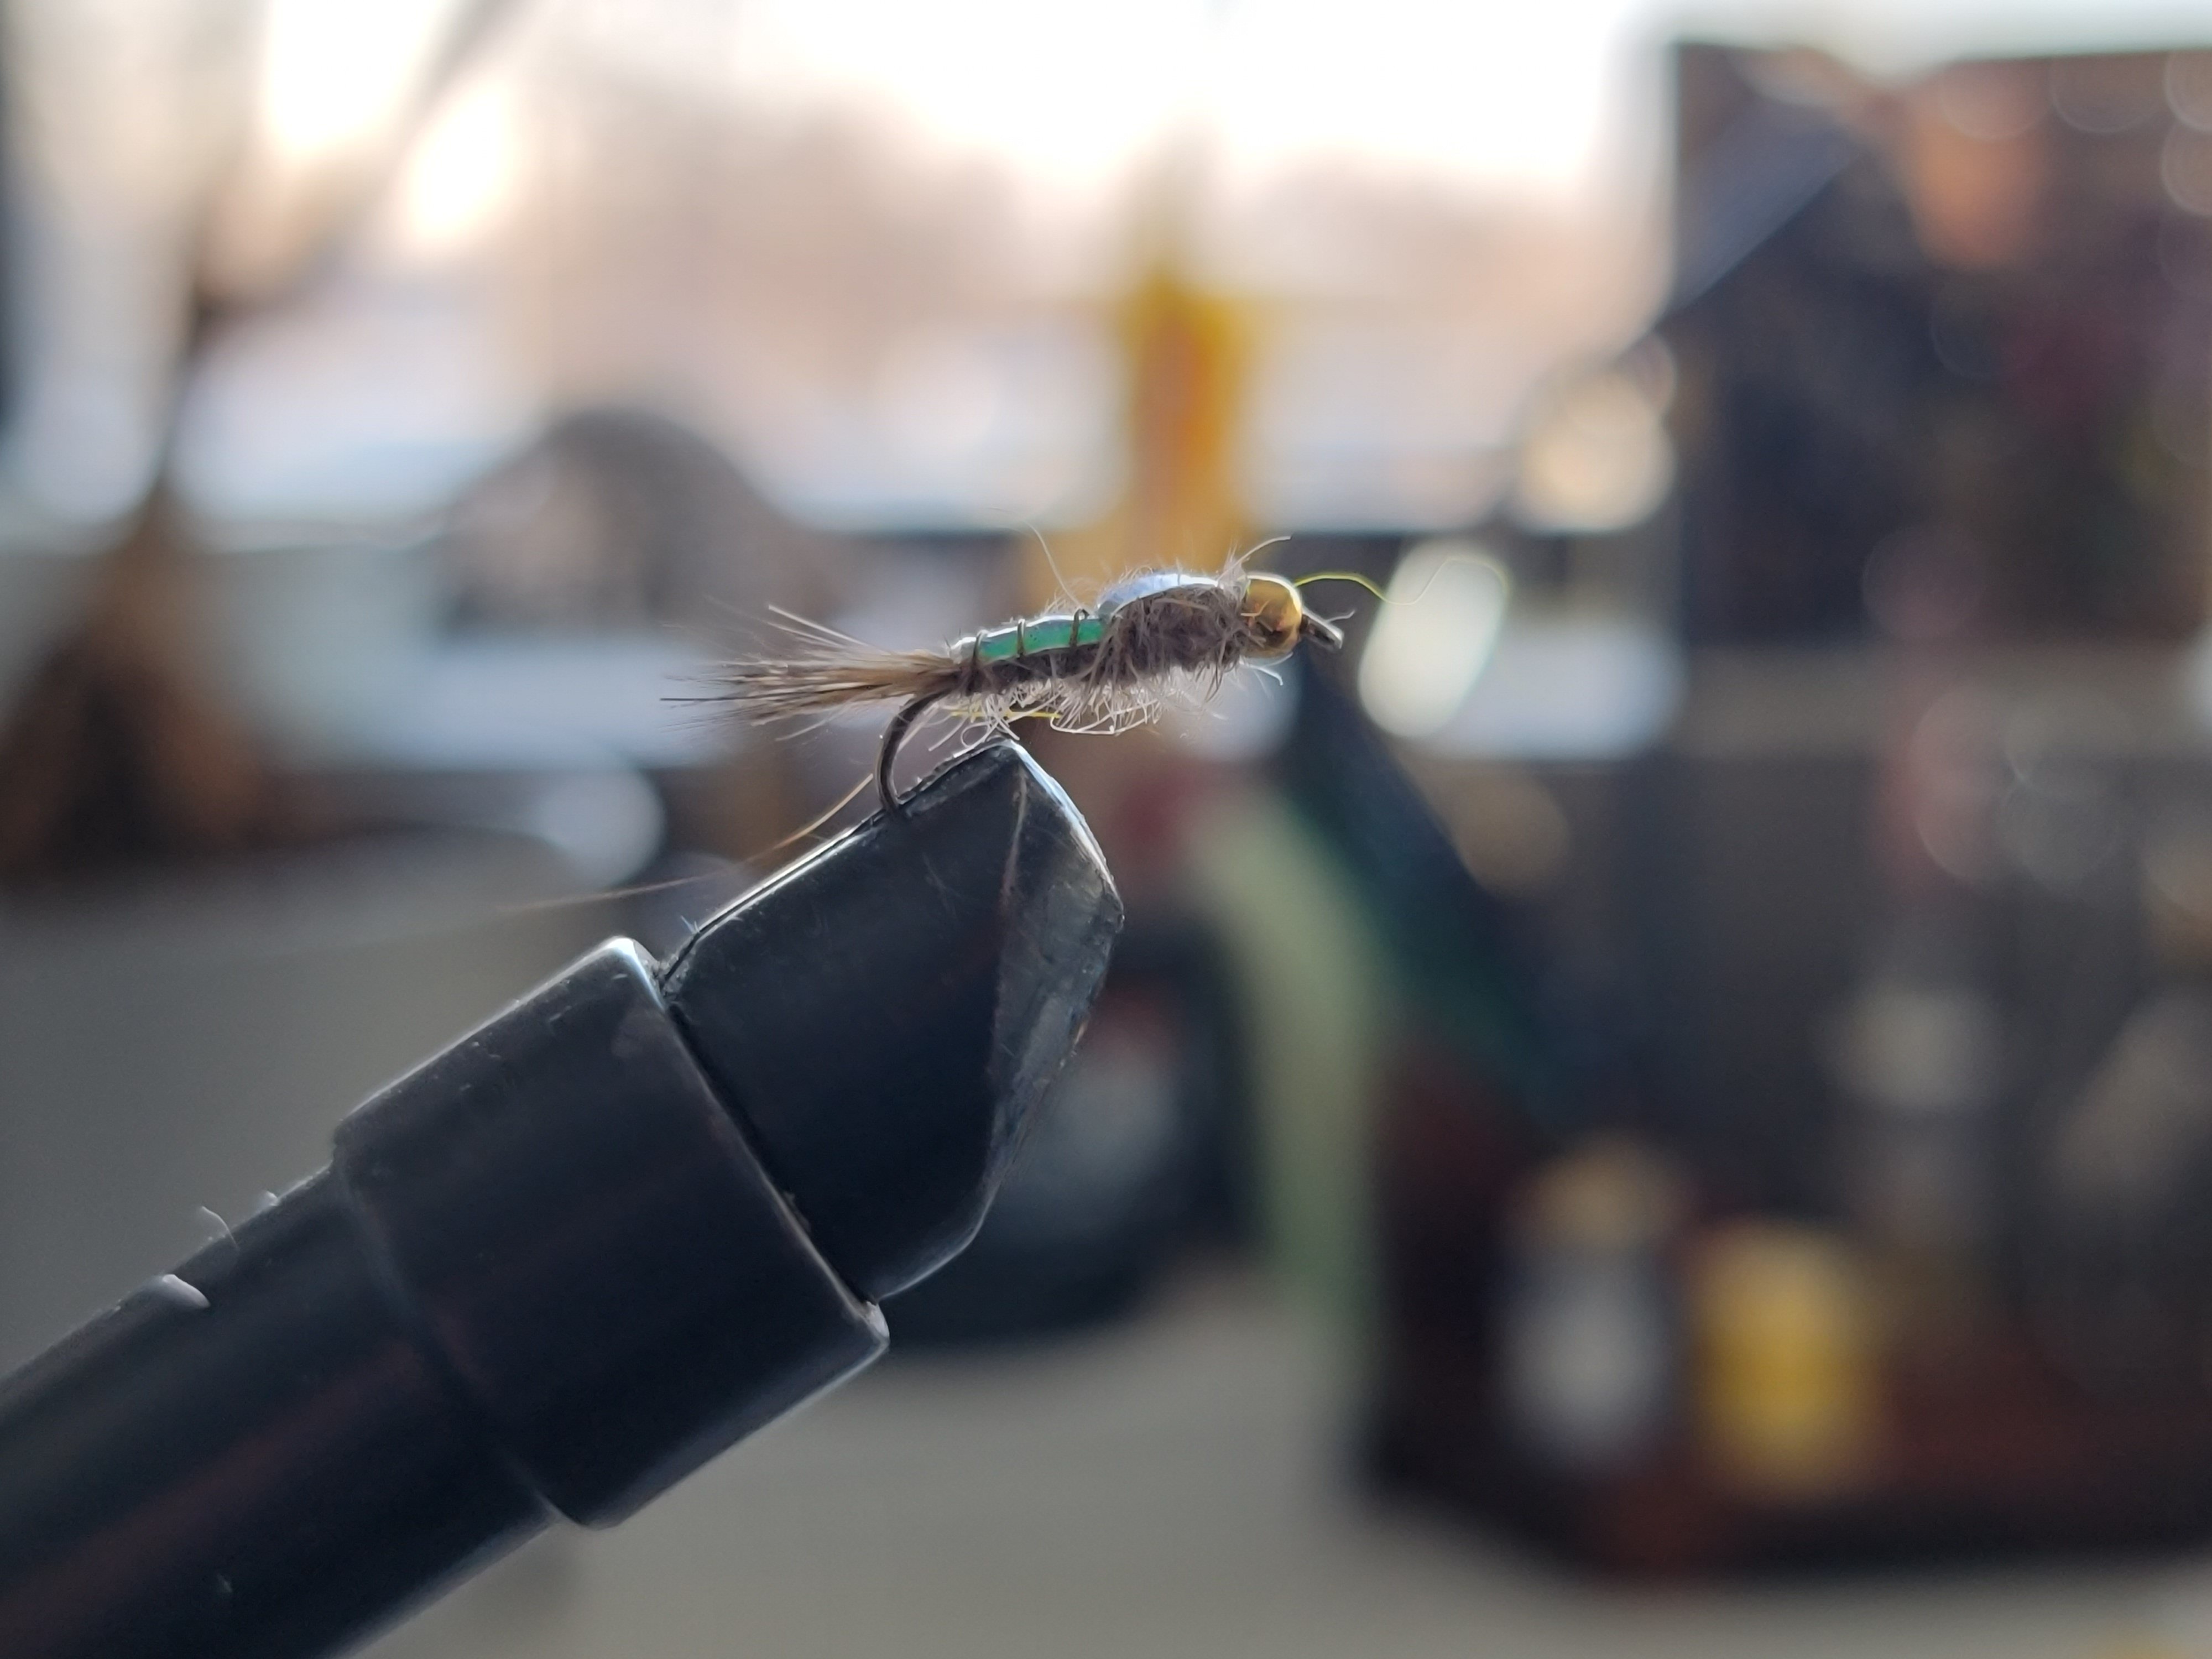
Learn how to tie the popular Pheasant Tail Nymph fly pattern with this comprehensive step-by-step guide.
History of the Pheasant Tail Nymph
The Pheasant Tail Nymph is a fly pattern widely used in fly fishing that was originally designed by Frank Sawyer MBE, an English River Keeper, in the early 1900s. Sawyer created the pattern to imitate different species of the Baetis mayfly, which are found in the chalk streams of Southern England. The fly's original design featured a tapered body made of pheasant tail fibers and copper wire, which helped the fly sink quickly in the water. It became well-known following the publication of Sawyer's book, "Nymphs and the Trout", in the 1950s and has since been widely recognized as a versatile and effective pattern, making it a staple in the fly boxes of anglers worldwide.
Since its creation, the Pheasant Tail Nymph has been adapted and modified to suit different waters, species, and techniques. However, the basic design of the fly has remained the same, with variations such as the Beadhead Pheasant Tail Nymph, Flashback Pheasant Tail Nymph, and Soft Hackle Pheasant Tail Nymph. Despite these variations, the pattern's effectiveness has not diminished, and it remains a go-to fly for many anglers.
Selecting the Materials

To tie the Pheasant Tail Nymph, you will need a few key materials. Here's what you'll need:
- Pheasant tail fibers: These will be used to create the tail and body of the nymph.
- Copper wire: This will be used to rib the body of the nymph and add some flash.
- Peacock herl: This will be used to create the thorax and give the fly a natural sheen.
- Brown or black thread: This will be used to secure the materials to the hook and create the head of the nymph.
- Tungsten or brass bead: This will be used to add weight to the nymph and help it sink in the water.
Preparing the Hook
.jpg?width=3000&height=3032&name=20240313_074140%20(1).jpg)
The first step in tying the Pheasant Tail Nymph is to prepare the hook. Here's how to do it:
- Start by placing the hook in your vise and securing it tightly.
- Take your thread and create a small thread base at the front of the hook.
- Slide the bead onto the hook and push it up against the thread base.
- Secure the bead in place by wrapping the thread tightly behind it.
Once you have prepared the hook, you're ready to start tying the body and tail of the nymph.
Tying the Body and Tail
Now it's time to tie the body and tail of the Pheasant Tail Nymph. Follow these steps:
- Take a few pheasant tail fibers and measure them against the hook. They should be roughly the length of the hook shank.
- Tie in the pheasant tail fibers at the front of the hook, leaving a small tag end.
- Wrap the thread back towards the bead, creating a smooth underbody.
- Use the pheasant tail fibers to create the body of the nymph by wrapping them tightly around the thread.
- Secure the pheasant tail fibers with a few tight wraps of thread, then trim off the excess.
- Rib the body of the nymph with the copper wire, wrapping it in an evenly spaced manner.
- Secure the wire with a few tight wraps of thread, then trim off the excess.
With the body and tail complete, it's time to add the thorax and wing case.
Adding the Thorax and Wing Case
The thorax and wing case of the Pheasant Tail Nymph give it a realistic appearance. Here's how to add them:
- Take a few strands of peacock herl and tie them in at the front of the hook, leaving a small tag end.
- Wrap the thread back towards the bead, creating a smooth underbody.
- Use the peacock herl to create the thorax of the nymph by wrapping it tightly around the thread.
- Secure the peacock herl with a few tight wraps of thread, then trim off the excess.
- Take a small section of pheasant tail fibers and tie them in at the front of the hook, creating a wing case.
- Secure the wing case with a few tight wraps of thread, then trim off the excess.
With the thorax and wing case in place, it's time to add the finishing touches to the Pheasant Tail Nymph.
Finishing Touches
To complete the Pheasant Tail Nymph, follow these final steps:
- Whip finish the thread at the front of the hook to secure it in place.
- Apply a small amount of head cement to the thread wraps to ensure they don't come undone.
- Trim off any excess thread or materials.
Take a moment to inspect the fly and make any necessary adjustments.
Congratulations! You have successfully tied the Pheasant Tail Nymph. Now it's time to test it out on the water and see how it performs.
.png?width=300&height=100&name=Copy%20of%20Rise%20Beyond%20Logo%2012.31.24%20(300%20x%20100%20px).png)
.png)
.jpg)
