.png?width=300&height=100&name=Copy%20of%20Rise%20Beyond%20Logo%2012.31.24%20(300%20x%20100%20px).png "Rise Beyond Fly Fishing Co. logo featuring a cowboy riding a large trout, holding a fishing rod in one hand and a camera in the other, with stylized text in a rugged, outdoor-themed font")
.png)
Tying the RSII (RS2) fly pattern is fairly straightforward once you have the necessary materials and follow the proper steps.
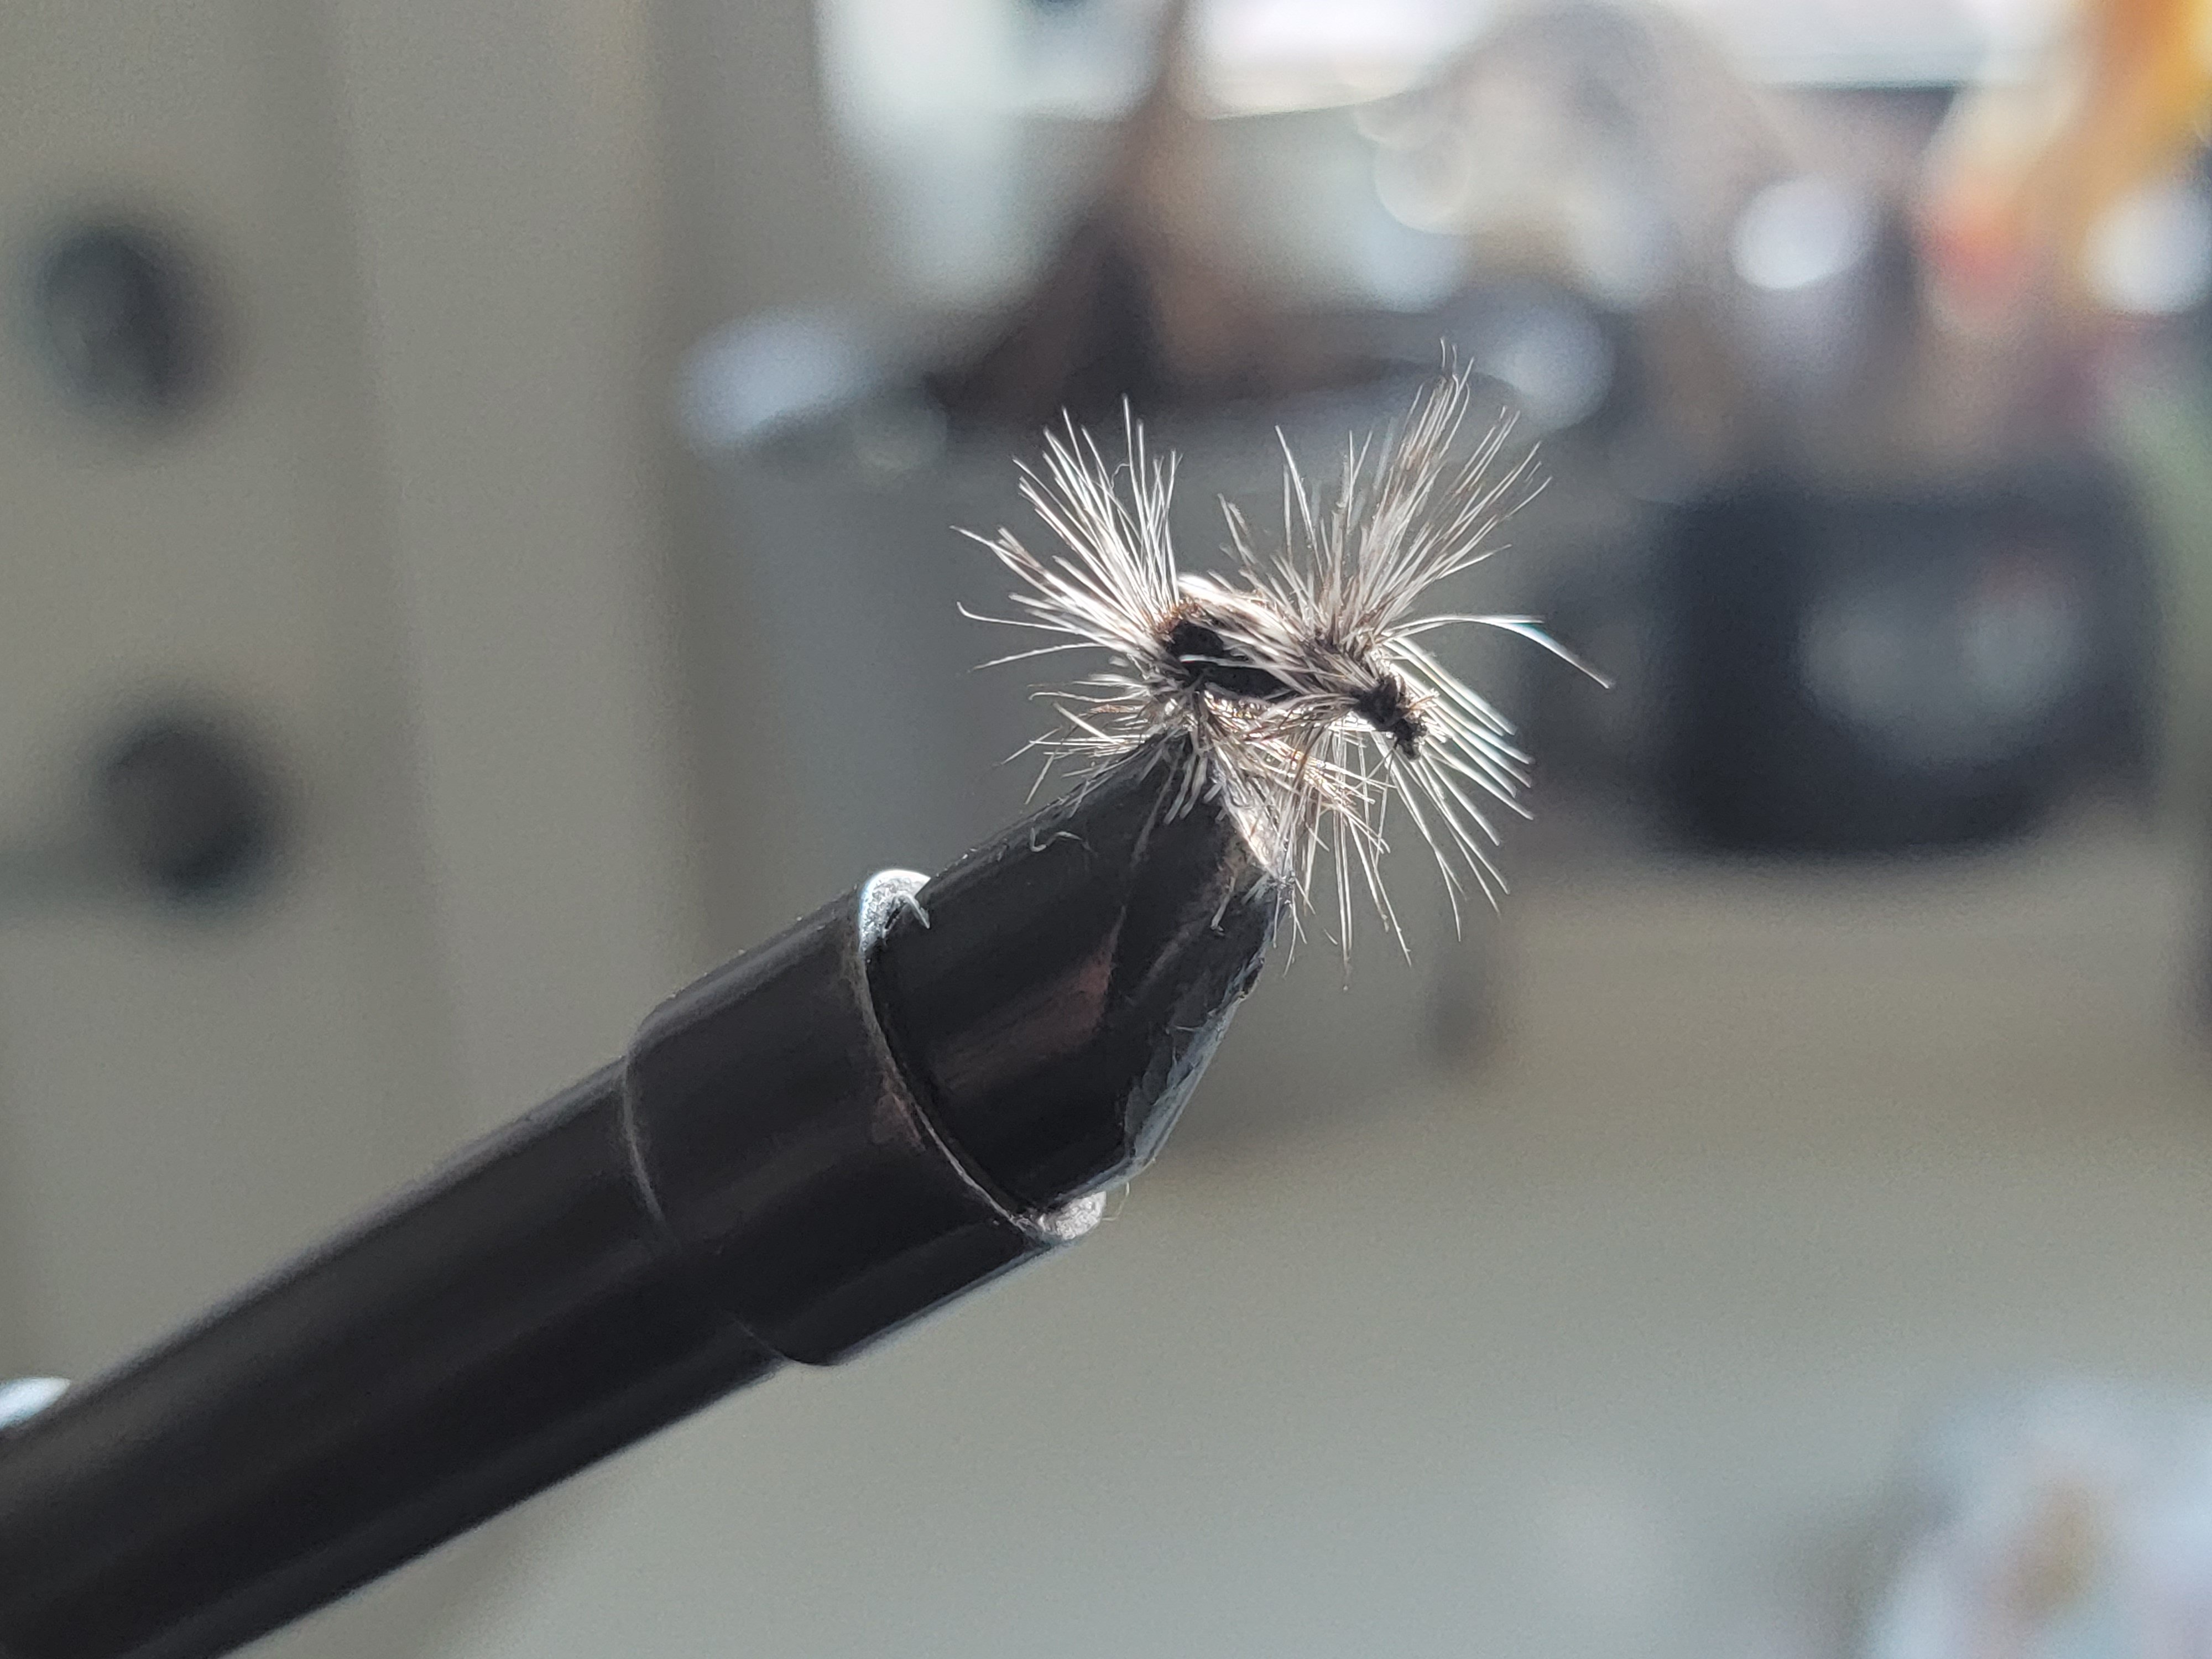
RSII or RS2 Fly

The RSII (RS2) fly is a popular nymph fly pattern used in fly fishing. It is designed to imitate a small mayfly or midge nymph, and is often fished in streams and rivers with slow to moderate current speeds. The RSII fly is particularly effective in clear water and during hatches, when fish are feeding on nymphs near the surface.
As for the best places to fish the RSII in Colorado, there are many great locations throughout the state. Some popular areas include the South Platte River near Deckers, the Arkansas River near Buena Vista, and the Fryingpan River near Basalt. Of course, it's always a good idea to check local fishing reports and talk to experienced anglers to get a better idea of where the fish are biting. Happy fishing!
Materials
- Hook: Standard dry fly hook (size 18 to 22)
- Thread: Fine thread (matching color to the fly)
- Tail: Microfibetts or similar material
- Body: Fine dubbing (gray, olive, black, or other desired color)
- Wing: Natural or synthetic material (CDC, snowshoe hare, or similar)
Steps by Step Tying Instructions

- Start by attaching the thread to the hook shank behind the eye. Wrap the thread backward, creating a smooth base along the entire shank.
- Take a small bunch of microfibetts (or similar tailing material) and secure it to the top of the hook shank, slightly shorter than the length of the hook. Trim any excess material.
- Apply a small amount of dubbing to the thread and wrap it around the hook shank, creating a slim, tapered body. Stop wrapping just before reaching the eye of the hook.
- Prepare a small bunch of wing material, such as CDC or snowshoe hare, and position it on top of the hook shank, slightly longer than the tailing material. Secure it with a few wraps of thread.
- Trim the excess wing material, forming a neat and compact wing profile.
- Whip finish the fly by wrapping several threads around the hook shank, just behind the wing. Cut the thread, and apply a small drop of head cement or UV resin to secure the thread wraps.
- Trim any stray fibers or uneven portions of the fly to achieve a clean and symmetrical shape.
Remember, the RSII pattern can be modified and customized to suit your preferences. Experimenting with different colors, dubbing materials, and wing materials can help you create effective variations for different fly fishing situations.
It's also helpful to watch instructional videos or consult detailed tutorials to demonstrate the tying process visually. Practice is key; with time, you'll become more proficient at tying the RSII and other fly patterns.
.png)
.jpg)