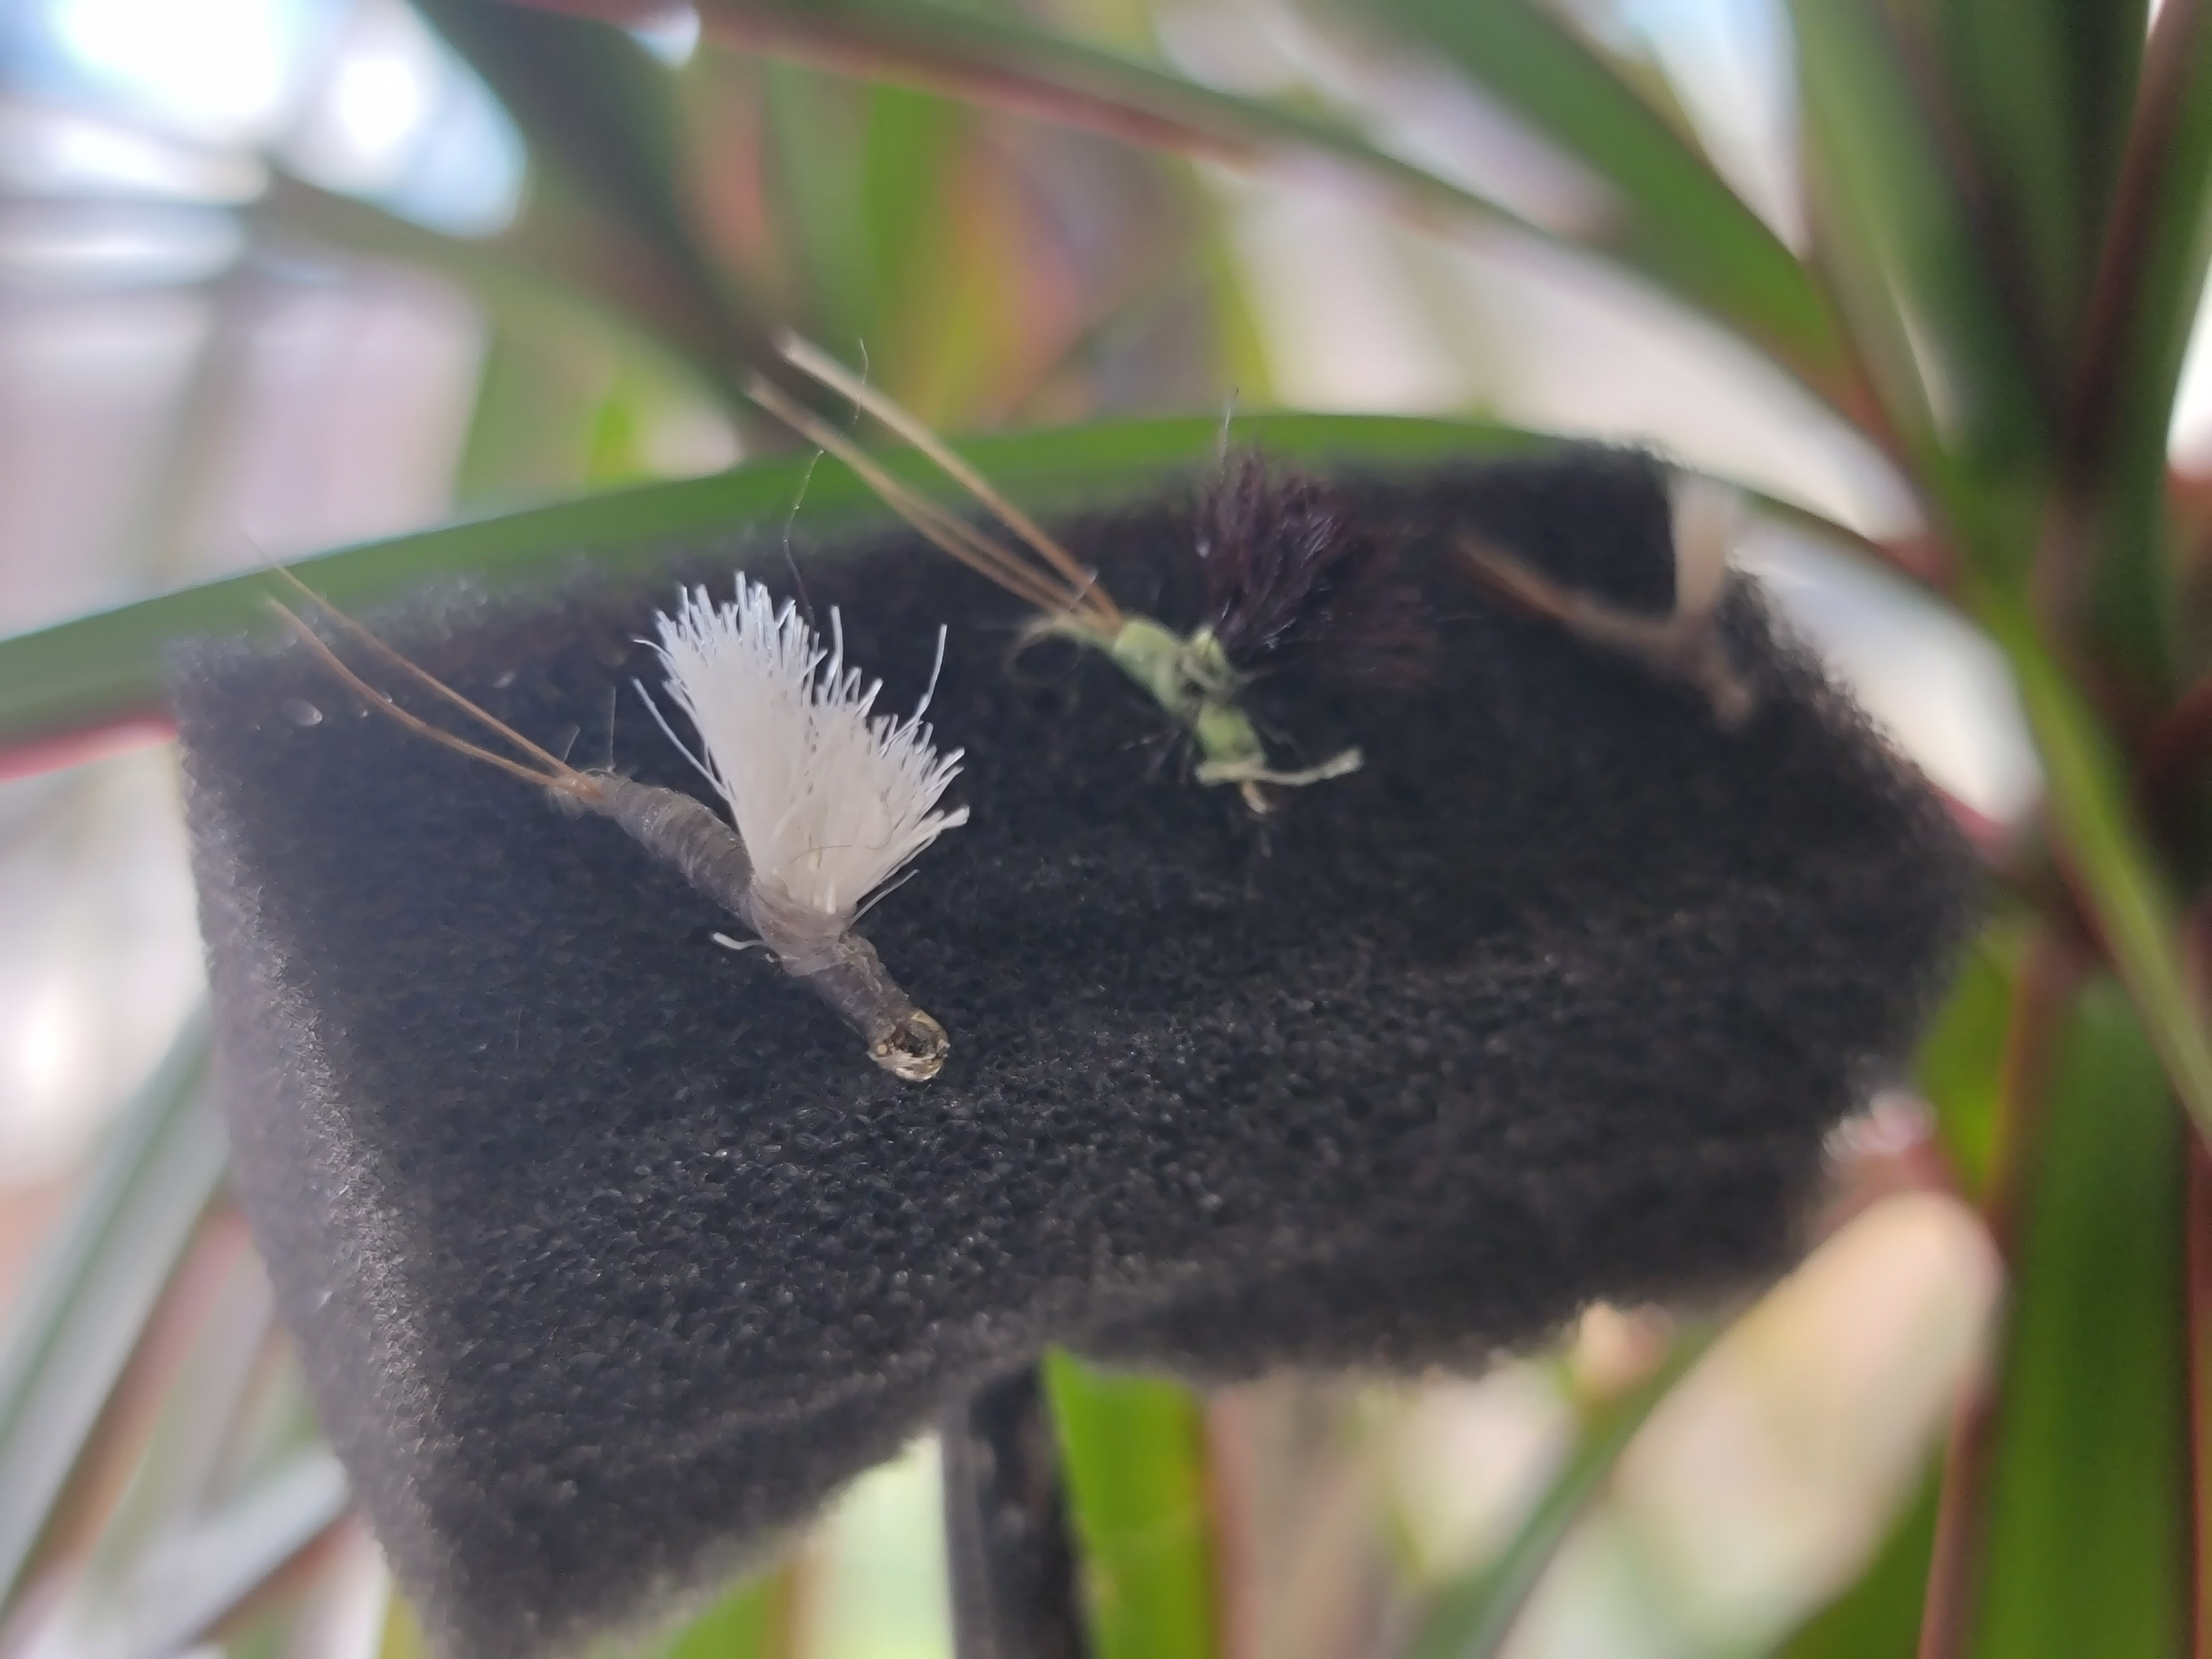
Let's dive into the art of tying the Copper John for fly fishing! Here's a simplified breakdown of the process. Keep in mind that for precision, detailed instructions or video tutorials are your best bet.
Copper John Materials
- Hook: Nymph hook (e.g., size 12-18)
- Thread: Black or color to match the body
- Tail: Pheasant tail fibers
- Abdomen: Copper wire
- Thorax: Peacock herl or dubbed synthetic material
- Wing case: Thin strip of black or dark brown turkey feather
- Legs: Strands of pheasant tail fibers
- Head: Tying thread or dubbing
Step-by-step instructions

- Get your hook ready in the vise. Start the thread near the hook eye and secure it along the shank to the bend.
- Tie in a few pheasant tail fibers for the tail, extending beyond the hook bend. Position them to be roughly the length of the hook shank.
- Secure a piece of copper wire to the hook shank, ensuring it extends to the bend. This will be used for the abdomen.
- Wrap the thread back up to the starting point near the hook eye, covering the wire along the way. This creates a smooth underbody for the fly.
- Begin wrapping the copper wire in a tight spiral, creating the abdomen. Secure it with thread wraps and trim any excess wire.
- Tie in several strands of pheasant tail fibers near the thorax area, extending slightly beyond the hook bend. These will be used as the legs.
- Create the thorax by tying in a few strands of peacock herl or dubbing material. Wrap it around the hook shank to form a slightly thicker section behind the eye. Secure it with thread wraps.
- Prepare a thin strip of black or dark brown turkey feather for the wing case. Tie it in at the thorax area, folding it over the top of the thorax and secure it with thread wraps.
- Trim the excess turkey feather and form a neat head by making a few thread wraps at the hook eye. Whip finish and trim the thread.
- Apply a drop of head cement or clear nail polish to the thread wraps to secure them in place.
.png?width=300&height=100&name=Copy%20of%20Rise%20Beyond%20Logo%2012.31.24%20(300%20x%20100%20px).png)
.png)

.jpg)
