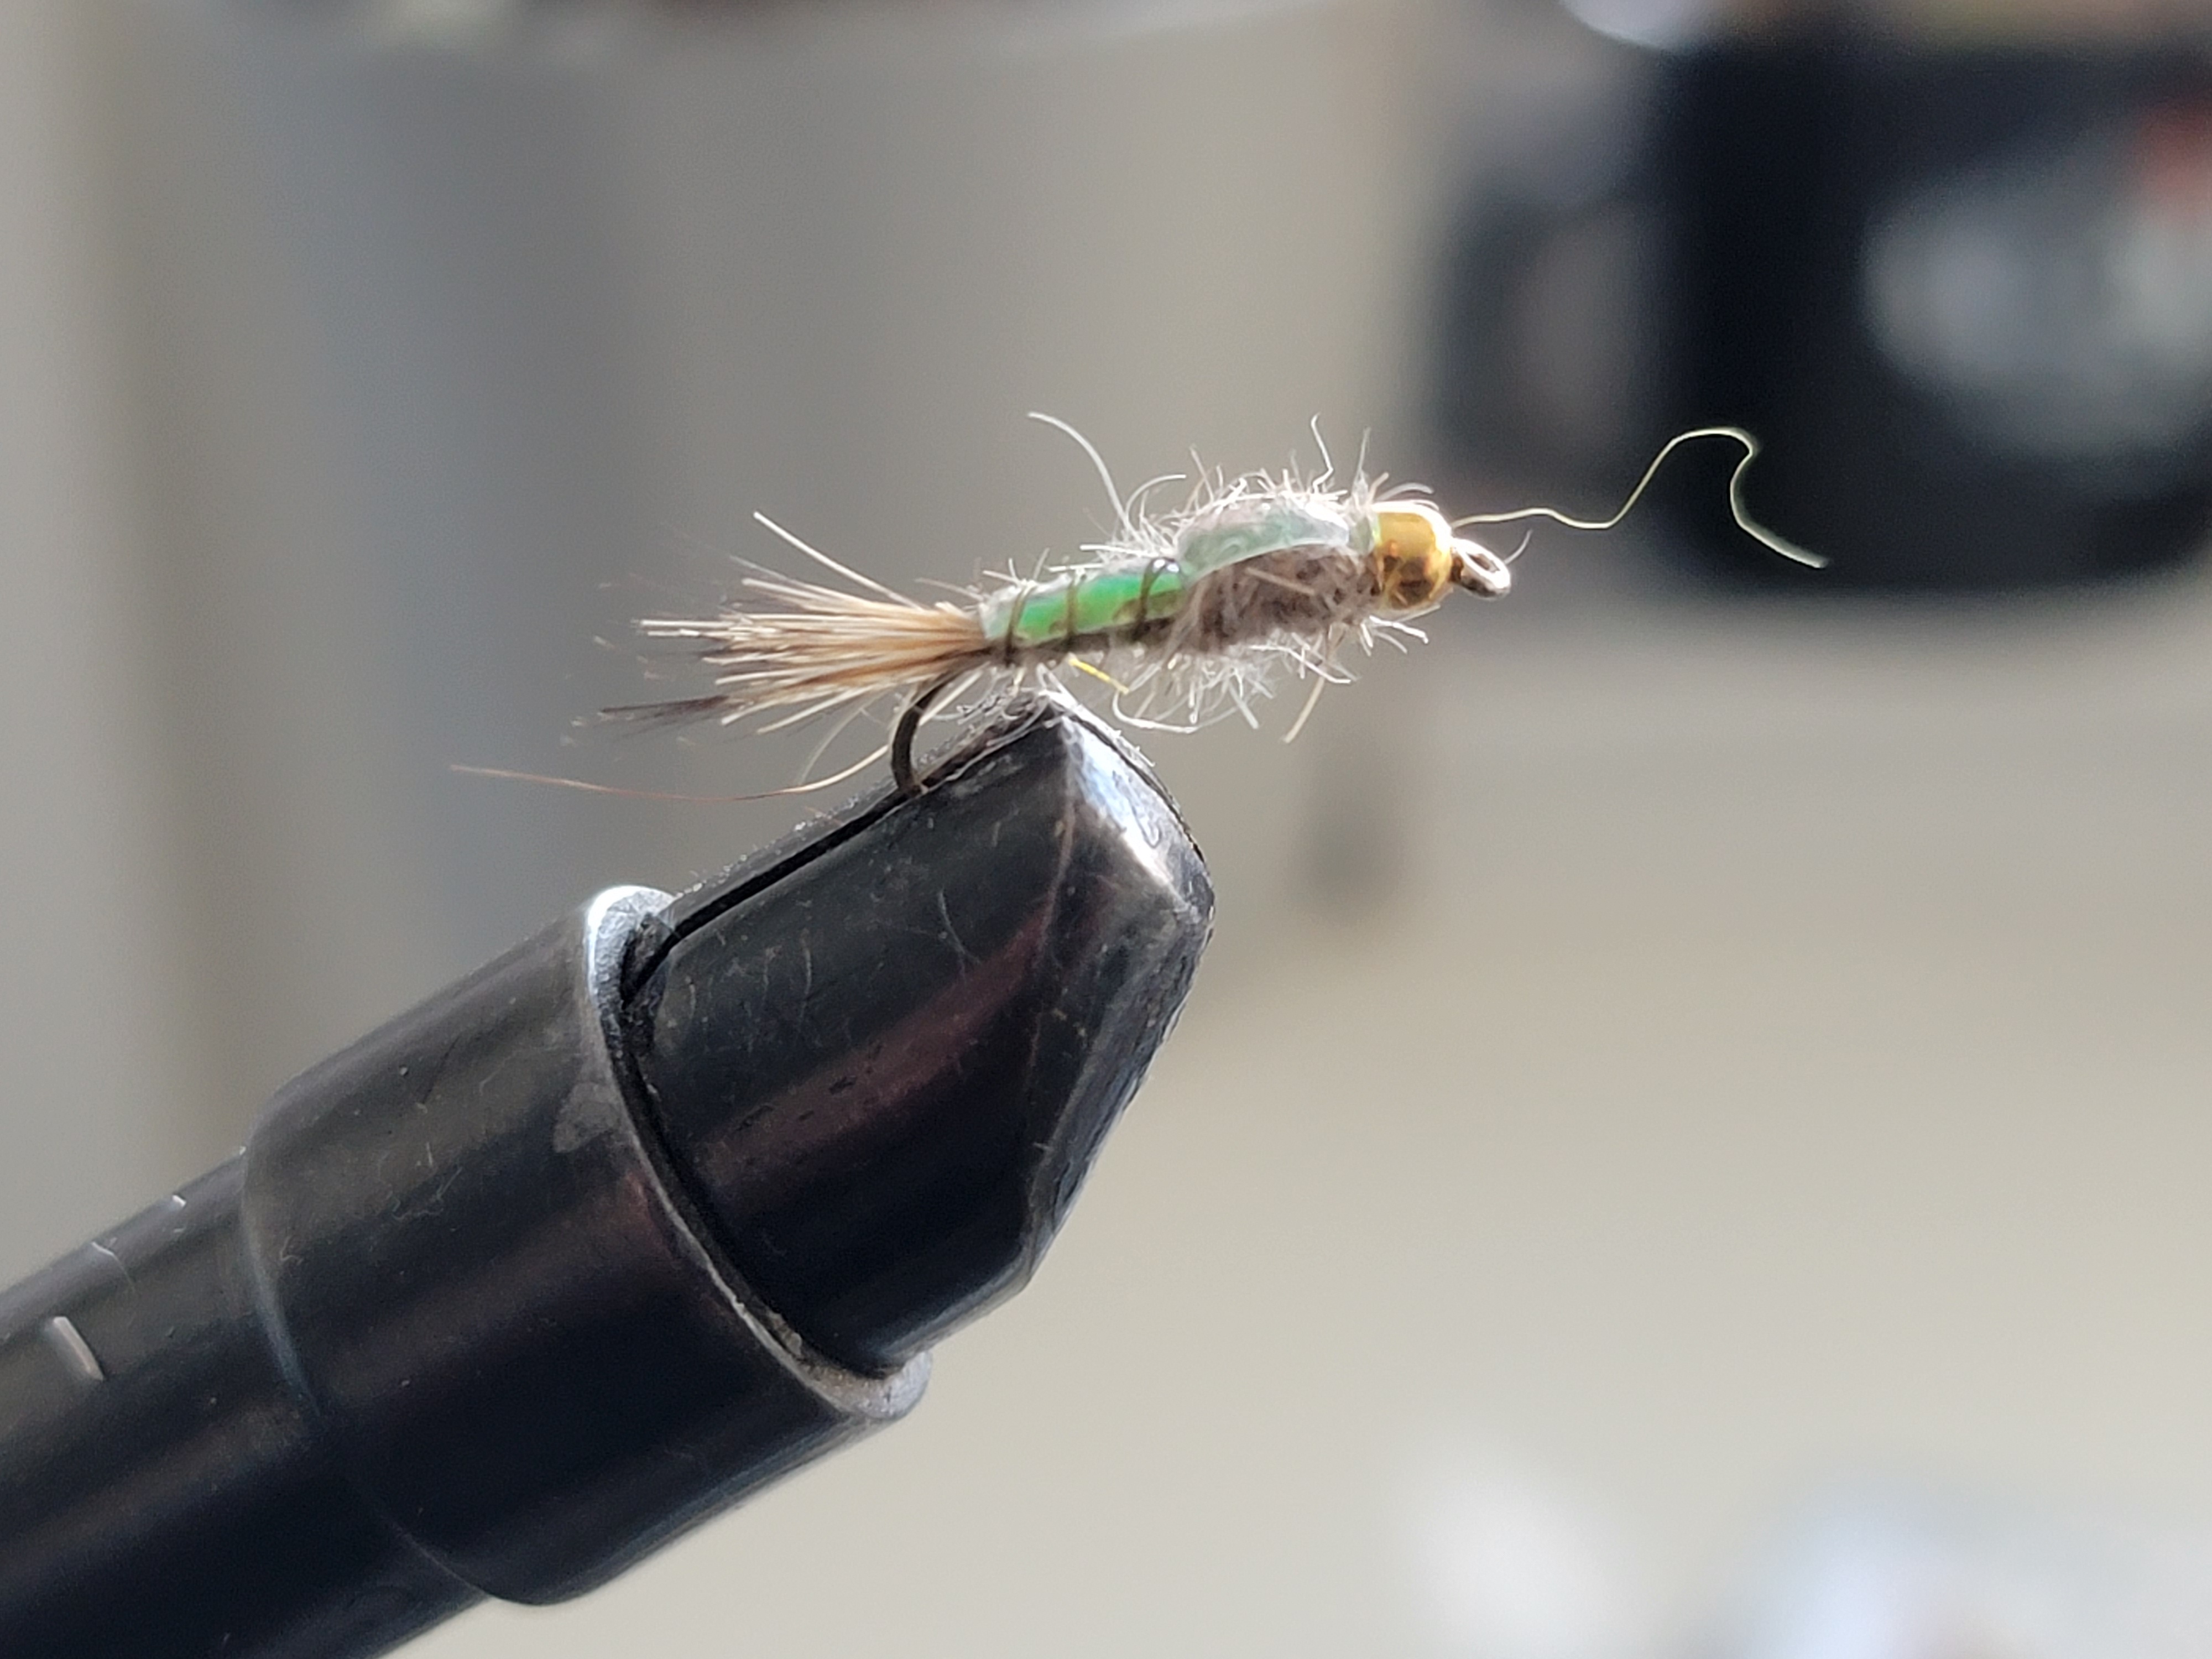
Discover the art of tying the Blue Wing Olive fly, a beloved choice for fly fishers seeking to replicate the enchanting mayfly. Dive into the intricate steps and techniques essential for crafting this exquisite fly pattern, renowned for its ability to deceive trout during hatches. Explore the delicate nuances of imitating the bluish-green body and transparent wings of the Blue Wing Olive, a staple in rivers and streams where trout eagerly feast on these tiny insects. Master the life cycle of the BWO fly, from nymph to spinner, and learn how to create a flawless imitation at each stage of its development. With the right materials in hand, including dubbing in shades of olive and CDC feathers for wings, embark on a step-by-step tying process that will elevate your fly fishing game. Add finishing touches like head cement and UV resin to enhance realism, and experiment with different variations to perfect your craft. Armed with these insights, venture into the waters with your meticulously tied Blue Wing Olive fly and embrace the challenge of outsmarting trout during BWO hatches.
Understanding the Blue Wing Olive Fly

The Blue Wing Olive (BWO) fly holds a special place in the hearts of fly fishers, revered for its uncanny ability to deceive trout during hatches. These small, delicate flies, with their bluish-green bodies and transparent wings, are a common sight in rivers and streams, where trout eagerly await their arrival. Understanding the intricate life cycle of the Blue Wing Olive fly is key to crafting a convincing imitation at each stage of its development – from the nymph wriggling below the surface to the emerger struggling to break free, the dun delicately floating on the water to the spinner dancing in the air.
As BWOs grace the water's surface during hatches, trout rise to feed on these tiny insects, making it essential for fly fishers to observe and replicate their behavior and characteristics. By mastering the art of tying the Blue Wing Olive fly, anglers can immerse themselves in the challenge of outsmarting trout with a lifelike imitation that entices strikes. Whether it's the choice of dubbing in shades of olive or the selection of CDC feathers for wings, every material and technique plays a crucial role in creating a fly that mirrors the natural allure of the BWO.
With the right materials in hand and a deep understanding of the Blue Wing Olive fly's nuances, fly fishers can embark on a step-by-step tying process that elevates their craft. By adding finishing touches like head cement and UV resin, anglers can enhance the realism of their flies, increasing their chances of success on the water. Armed with these insights and techniques, fly fishers can confidently venture into the waters with their meticulously tied Blue Wing Olive fly, ready to embrace the challenge of fooling trout during BWO hatches.
Selecting the Right Materials
When selecting materials for tying a successful Blue Wing Olive fly, it is crucial to consider not only the color and texture but also the weight and translucency of each component. Opt for dubbing in shades of bluish-green like olive, gray, or light olive to accurately replicate the color of the BWO fly's body. This choice of dubbing will ensure that your imitation blends seamlessly with the natural surroundings, increasing its effectiveness in fooling trout during hatches.
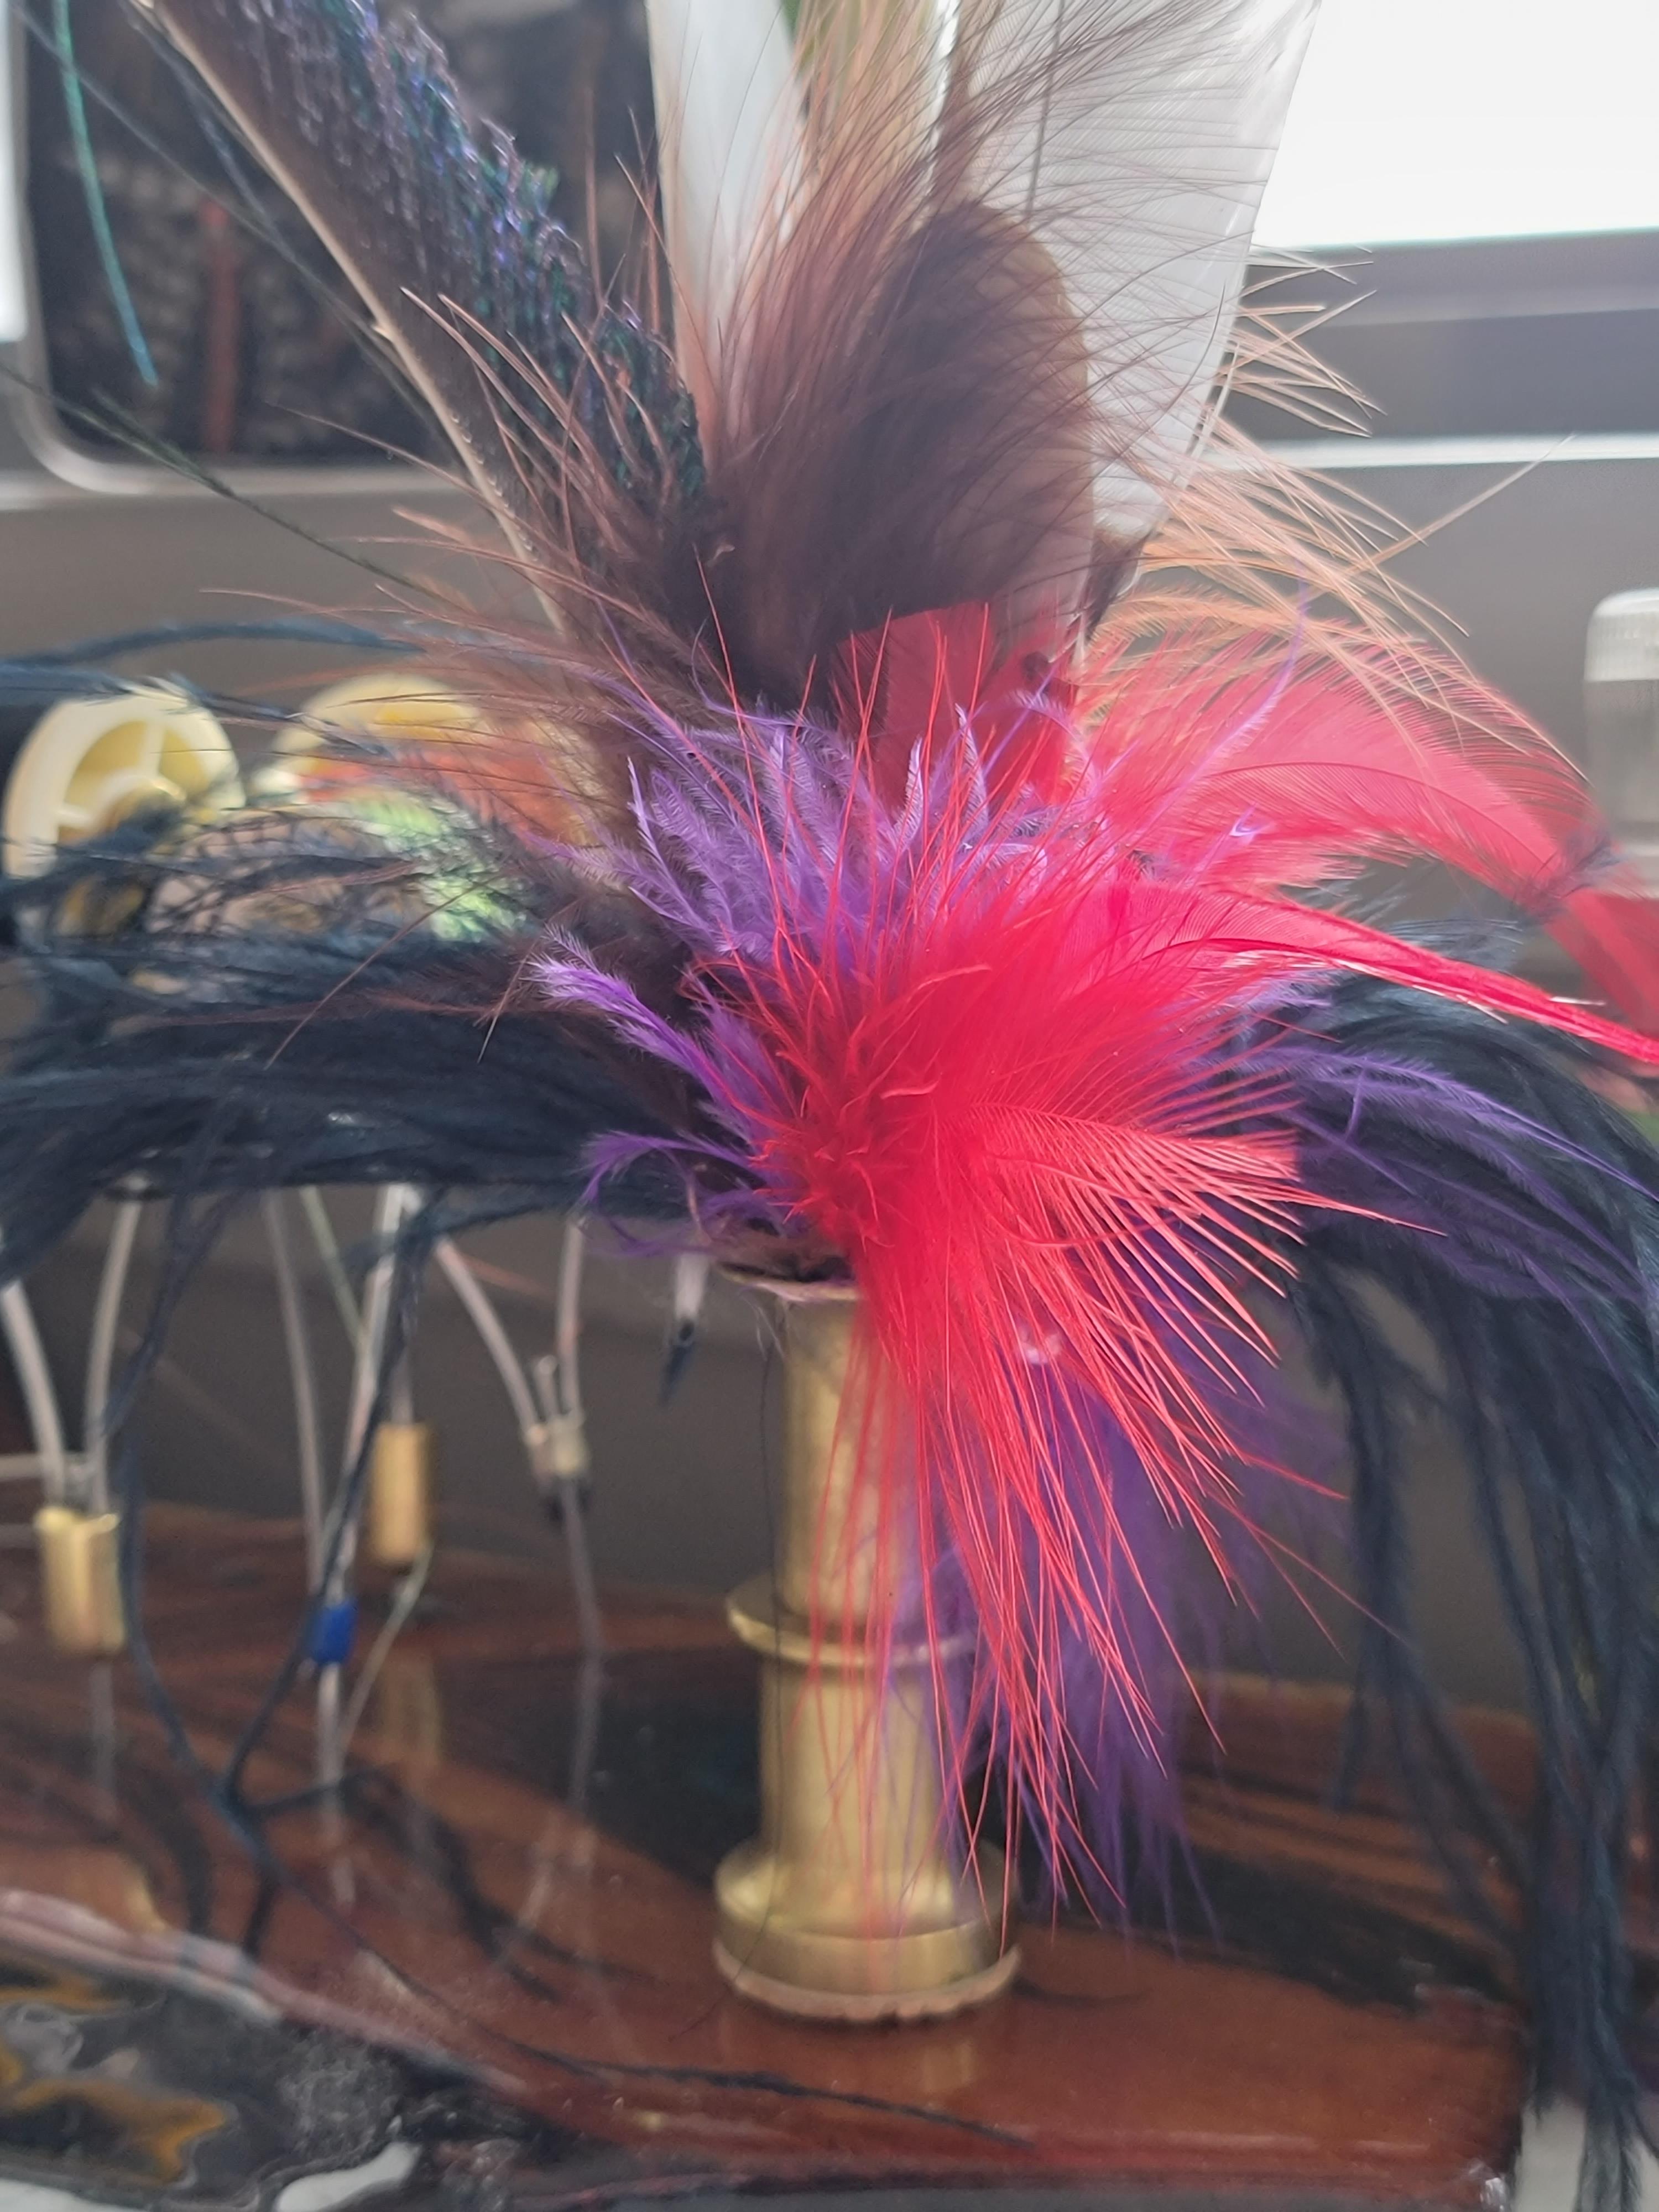
For the wings, prioritize materials that are not only transparent but also lightweight, such as CDC feathers or synthetic fibers like Antron. These materials will give your fly a delicate appearance and subtle movement that closely mimics the BWO fly's transparent wings as it floats on the water's surface. By selecting the right materials with these characteristics, you can create a fly that not only looks like the real thing but also behaves in a lifelike manner, enticing trout to strike.
Additionally, consider the hook's size and shape, the thread's color, and the ribbing material you use. Matching the hook size to the BWO size you are imitating, typically ranging from 16 to 22, will ensure that your fly is proportionate and balanced. Using thread in a color that complements the body dubbing and ribbing materials will create a cohesive look. In contrast, ribbing can add segmentation and texture to the body, further enhancing the fly's realism.
Having essential tools like fine-tipped scissors, hackle pliers, and a whip finish tool on hand will make the tying process more efficient and precise, allowing you to focus on crafting a flawless Blue Wing Olive fly. By carefully selecting materials that replicate the appearance and behavior of the BWO fly, you can elevate your fly fishing game and increase your chances of success on the water.
- For the body, you will need dubbing in a bluish-green shade to imitate the color of the BWO. Some popular choices include olive, gray, or light olive dubbing.
- For the wings, use materials that are transparent and lightweight, such as CDC (Cul-de-Canard) feathers or synthetic fibers like Antron.
Other important materials include hooks, thread, and ribbing. Choose hooks in sizes that match the BWO size you want to imitate, typically ranging from 16 to 22. Use thread in a color that matches the body dubbing and ribbing materials to create a seamless look.
It's also a good idea to have a pair of fine-tipped scissors, hackle pliers, and a whip finish tool to assist in the tying process.
Step-by-Step Tying Process
To tie the Blue Wing Olive fly, follow these step-by-step instructions:
- Start by attaching the thread to the hook shank and creating a base layer.
- Select the dubbing material and twist it onto the thread, forming a dubbed body. Make sure to leave enough space for the wings and other materials.
- Tie in the CDC feathers or synthetic fibers as wings, positioning them to extend slightly beyond the body.
- Use the ribbing material to create segmentation on the body by wrapping it in evenly spaced turns.
- Apply a whip finish to secure the thread and trim off any excess.
- Trim the wings to the desired length, typically around the length of the body.
- Use a bodkin or dubbing needle to tease out some fibers from the dubbed body, creating a more realistic appearance.
- Trim any stray fibers and tidy up the fly.
Adding the finishing touches to your Blue Wing Olive fly can greatly enhance its realism and effectiveness. One important step is to apply a small amount of head cement or UV resin to the thread wraps near the head and wing tie-in points. This helps to secure the materials and increase the fly's durability. You can also add some additional details by using a permanent marker to create segmentation lines on the body or adding a touch of color to the wing tips.
Tips for Fishing with the Blue Wing Olive Fly

When fishing with the Blue Wing Olive fly, keep the following tips in mind:
- Observe the natural behavior of BWOs on the water to imitate their movement and presentation.
- Match the size and color of your fly to the prevailing BWO hatch. Carry a range of sizes to cover different situations.
- Present the fly in a drag-free manner by using mending techniques to achieve a natural drift.
- Focus on slower-moving water or areas where trout are likely to feed during a BWO hatch, such as riffles or eddies.
- Pay attention to the timing of the hatch and try to be on the water when the BWO activity is at its peak.
- Use light tippets and delicate presentations to imitate the delicate nature of the BWO fly.
Remember, fishing with the Blue Wing Olive fly requires patience and observation. Be prepared to adapt your tactics based on the fish's behavior and the prevailing conditions.
.png?width=300&height=100&name=Copy%20of%20Rise%20Beyond%20Logo%2012.31.24%20(300%20x%20100%20px).png)
.png)


.jpg)